How to prevent and fix sinkholes in candles
It can be terribly disappointing and frustrating for a candle maker who has put time, energy and money into creating a beautiful candle product only to discover that a sinkhole has formed down the centre of it. Unlike wet spots, which are more of just an unattractive annoyance, sinkholes can completely ruin the functionality of your candle.
Sinkholes can develop in any type of candle including containers, pillars or votives. Here we are going to explore what causes them to form, how they can affect the performance of your candle, how you can prevent them from happening, and how you can fix them when they do occur.
What causes a sinkhole?
As we mentioned in our previous blog “Why does candle wax shrink?,” wax expands when it is heated and becomes liquid, then shrinks and contracts when it cools and returns to its solid state. Naturally, the wax that is closest to the edges of the candle and around the wick release their heat and solidify more quickly than the wax in between.
As the candle begins to set, the parts of the candle that cool faster will harden and contract as much as the wax in the centre (which remains warm and expanded) will allow it to. After these areas have cooled and hardened, the wax in the centre will continue to release heat slowly and contract. The more the centre shrinks after the outside has set, the larger the sinkhole will be.
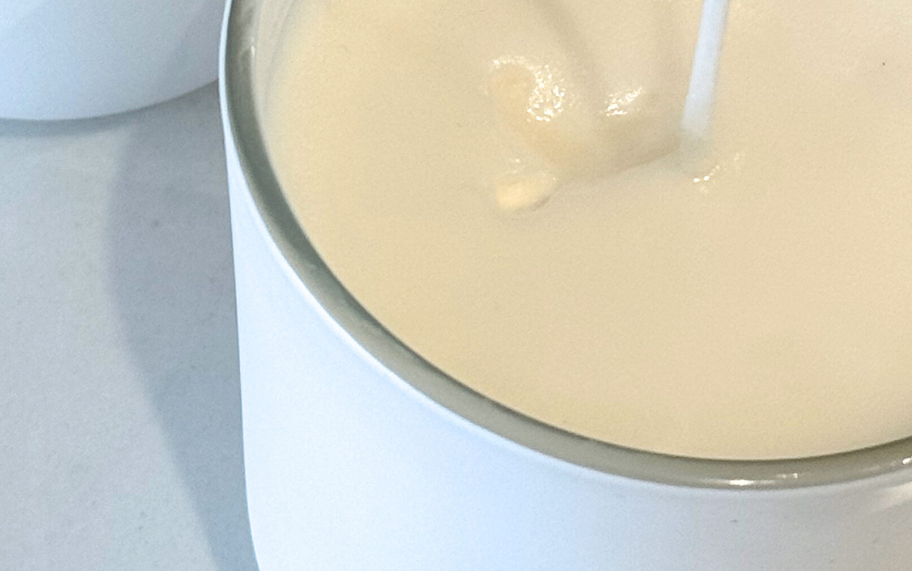
Another factor that can cause a sinkhole to form is when the wax around the edges and the wick set so quickly that air bubbles in the wax aren’t able to naturally be released. The bubbles then become trapped beneath the surface and the wax is forced to harden around them leaving an air pocket.
When you’re in a rush, it can be tempting to use methods to cool your candles more quickly to speed up the setting process. Doing things like placing your candles in a refrigerator, setting them outside on a cold day or running a fan on them can increase the likelihood of a sinkhole forming in them. Allowing them to set slowly at room temperature is the best way to go.
The type of wax you are using can also be a determining factor in whether your candles will develop a sinkhole or not. Harder waxes like pillar and votive waxes are more prone to sinkholes because they have a higher melting point requiring additional heat. This makes them expand more and therefore shrink more after releasing the heat.
Single pour container waxes are the least likely to have sinkholes form in them because of how soft they are as well as their low melting point. However, even these super soft waxes can have sinkholes, especially smaller surface sinkholes when they are poured at too hot of a temperature.
How does a sinkhole affect a candle?
A hidden sinkhole can have a devastating effect on your candle system. When you burn a candle that has an undetected sinkhole in the centre, it will start out burning fine. However, once the melt pool reaches the hole, all of the liquid wax will run into the hole removing the fuel source for the wick.
The wick will then burn down very quickly until it once again reaches the liquid wax at the bottom of the sinkhole. From there, it will continue to tunnel burn until the heat from the flame eventually melts enough of the wax from the sides to run down and drown the wick putting the candle out.
Alternatively, if one half of the wick is exposed to the sinkhole while the other half is encased in wax, the sinkhole side could become one long flame. If this were to occur in a tall skinny glass vessel, it could result in the glass overheating and shattering.
How to prevent sinkholes from happening?
It’s bad enough when you discover a sinkhole during a test burn, but it’s so much worse when you find out about them from someone else who was burning your candle. That is why it is so important to learn ways to pre-empt them from forming in the first place.
Temperature, Temperature, Temperature!
The biggest factor in the formation of a sinkhole is temperature. This includes the temperature of your workspace, the temperature the wax is poured at, the temperature of the container/mould the wax is poured into and even the temperature of the table the candles are sitting on as they set. They can all play a role in the creation of a sinkhole.
Ideally, your workspace should remain a consistent 70°F with good ventilation and no drafts or heavy air flow. Monitor the temperature of your pouring room closely, because fluctuations will have an effect on your finished products. It’s not a good idea to leave your candles near air conditioning vents in the summer or windows in the winter, because they will also cause your candles to cool more quickly and unevenly.
It’s best to have your containers or moulds at room temperature before you pour your candles. If your containers or moulds are colder than room temperature, you should prepare them by placing them in your pouring room, allowing them enough time to reach room temperature. To speed up the process, you could put your containers on a cookie sheet and warm them in the oven on the lowest temperature for 15-20 minutes.
Every wax type will have a different recommended temperature for pouring. It is important to know the ideal pouring temperature of your wax and allow it to cool to this temperature prior to pouring it into your room temperature containers/moulds. Letting your wax cool as much as possible in your pour pot will reduce the amount of cooling required in the container/mould, and thus reduce the chance of a sinkhole.
In some cases, you may find that the recommended pouring temperature doesn’t create your desired finish for your candles. For example, if you are making a pillar candle with a mould and you want to create a smooth, shiny finish for your candle, you may need to pour your wax hotter than what is recommended. In this case, you may need to take additional care so that your candle doesn’t end up having a sinkhole.
Finally, the surface you leave your candles on to set can also play a part in the formation of a sinkhole. It’s imperative that you do everything you can to ensure that the wax remains a uniform temperature throughout the candle during the entire duration of the setting process. Leaving your candles on a cool surface like a granite countertop can chill the bottom of your candle more quickly than the top. If possible, place your candles on a cooling rack that allows for equal air flow around the entire candle. Space them approximately 4 inches apart to prevent the warmth from the setting candles around it from keeping one side warmer than the others.
Other preventive actions and how to fix sinkholes
As I mentioned before, some candle waxes are just more likely than others to form a sinkhole. Consequently, there are things that you can do to work with the natural tendency of the wax. It does require a few extra steps, but will be well worth the effort in the end.
While your candle is setting, poke relief holes around your wick. This will allow any air trapped below the surface to work its way out. It will also allow liquid wax to fill any sinkholes that may be forming. Obviously, after your first pour has set, your candle will have a crater down the centre and won’t look very nice. You will need to do a second pour in order to fix this.
You can either make a second batch of wax, or save some of the wax from your first batch and remelt it for the second pour. I find the latter option to be easiest, especially if you have dyed your wax. It will ensure that the colour of your second pour is the same as your first.
For a container or votive candle, it is helpful having your first pour reach the shoulder or curve of the container or mould as it can help to camouflage the line where your first pour ends and the second pour begins. Then you want your second pour to go only slightly higher than your first (around 1/16” max).
If you're working with a softer container wax and you aren’t concerned about a sinkhole in the centre of the candle but do have some sinking across the surface; this can be corrected by simply using a heat gun or hair dryer to smooth it out. Evenly heat the surface of the candle until all of the cavities have been filled with melted wax and you’re left with a nice flat top. Be careful not to scorch the wick while you heat the wax.
Conclusion
Sinkholes are a relatively common issue for candle makers that can throw off the balance of your candle system and ruin your candle. Temperature is the number one culprit in the creation of a sinkhole. It is vitally important that you monitor the temperatures of everything you use in the making of your candles. Minimising drastic temperature fluctuations as much as possible is key to stopping sinkholes from forming. Finally, when a sinkhole does occur, don’t fret as it can be corrected by using a second pour or re-melting the surface of your candle to fill in the cavity.
Fragrance Oils and Health Products Our fragrance oils are intended for external use in candles, diffusers, and some cosmetic applications. They are not to be ingested, inhaled, or applied directly to skin without proper dilution. Health Canada requires a Natural Product Number (NPN) for the sale of any product making health claims or intended for therapeutic use. It is your responsibility to ensure your final product formulation complies with all applicable regulations and obtains the necessary NPN certification before sale.
Fragrance oils, when incorporated into health products, may require additional safety testing to ensure their suitability and interaction with other ingredients. We strongly recommend conducting independent testing by a qualified laboratory to confirm the safety and efficacy of your final product formulation. By purchasing this product, you agree to assume all responsibility for its proper use and application. We shall not be held liable for any misuse, claims, or damages resulting from the use of this fragrance oil in a health product.


