How to Make a Soy Wax Pillar Candle

Have you ever wanted to make those lovely scented candles you see? It's easier than you think! Candle making is a simple craft that lets you design your very own soy wax pillar candle. This candle will not only give a cozy glow but also fill your space with a wonderful scent.
With a few supplies and a touch of creativity, you can create your very own soy wax pillar candle that fills your space with a soothing glow and delighting fragrance.
Let's jump into the process, one step at a time, so you can create your own unique candle without any fuss.
Gathering What You Need
Before you start, gather these supplies:
-
Freedom Pillar Soy Wax: This eco-friendly option offers a clean burn, ensuring both your space and the environment stay fresh.
-
Candle Mould: Choose a mould style that resonates with you, setting the tone for your candle's appearance.
-
Candle Wick: Match the wick to your mould size for consistent burning.
-
Fragrance Oil: Pick a scent that speaks to you, as it will define your candle's ambiance.
-
Pour Pot: A handy tool for precise wax pouring.
-
Measuring Cup: Accurate measurements are key for success.
-
Wax Melter: A safe way to melt your soy wax.
Crafting Your Soy Wax Pillar Candle
Step 1: Measure Out Your Wax
For an 8 oz candle, measure out the appropriate amount of soy wax. This step ensures an even burn.
Step 2: Melt the Wax
Melt the soy wax in a wax melter. Aim for around 190°F – this temperature guarantees a smooth pouring process.
Step 3: Infuse Your Scent
Add 15ml of your chosen fragrance oil. This translates to a 6% fragrance load, giving your candle a delightful aroma.
Step 4: Prepare the Mould and Wick
Thread the wick (chosen according to your mould size) through the wick hole in your mould. Secure it with a wick pin, ensuring it stands straight.
Step 5: Pouring Your Candle
Set your mould on a tray and carefully pour the melted wax down the wick. This primes the wick and creates a solid base.
Step 6: Let It Set
Allow your candle to cool and solidify. This is where patience comes in – resist the urge to touch!
Step 7: Trim and Shape
Trim the wick, leaving about ¼ inch at the top. This encourages an even burn and prevents excessive smoke.
Step 8: Curing Time
Place your candle on a heat-safe plate and let it cure for two weeks. Keep an eye on it and never leave a burning candle unattended.
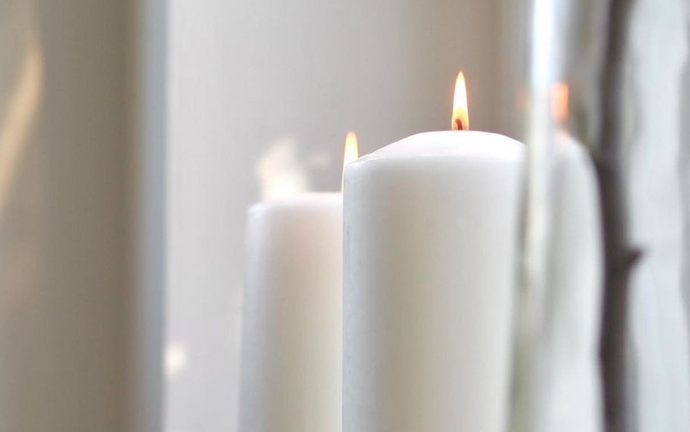
Light and Enjoy
Now, it's time to experience the magic. Light your candle and let the gentle glow and comforting scent envelop your space. Your custom creation adds a personal touch to any room, creating a haven of relaxation.
Key Takeaways
Simplicity in Creation: Candle making is simpler than you might have thought. Breaking down the process into manageable steps makes it easy for anyone to dive into this creative endeavor.
Supplies Made Simple: With just a handful of basic supplies like soy wax, a mould, wick, fragrance oil, and a few tools, you're all set to create your personalized candle masterpiece.
Temperature Matters: Melting your wax at the right temperature (around 190°F) ensures a smooth and successful pouring process.
Fragrance Your Space: Adding fragrance oil not only gives your candle a pleasant aroma but also fills your environment with a captivating scent.
Wick Wisdom: Properly preparing and positioning the wick ensures an even burn and enhances the overall performance of your candle.
Patience Pays Off: Allowing your candle to cool and set properly, as well as giving it time to cure, ensures the best results.
Personalized Ambiance: Your handcrafted candle not only provides a warm, inviting glow but also adds a personal touch to your space.
Conclusion
Making your own soy wax pillar candle might have seemed a bit complicated, but with our simple step-by-step breakdown, you're all set to start your creative journey. With just a few supplies and a bit of patience, you'll soon have a candle that not only looks nice but also makes your space smell amazing. So, grab your stuff, follow the steps, and enjoy the cozy glow of your very own handmade candle.


